Paper Chain Wall Art
l was looking for something fun and colorful to hang in the grandchildren’s bedroom of our new home. I saw an idea at Michaels and kept it in my back pocket. One day when I was shopping, the packs of paper were on sale so I decided to give it a try. Sophia is always wanting to do a project, so I asked Sophia if she wanted to help me and, of course, she was all in! This would be a fun project to do while I babysat for her on her break.
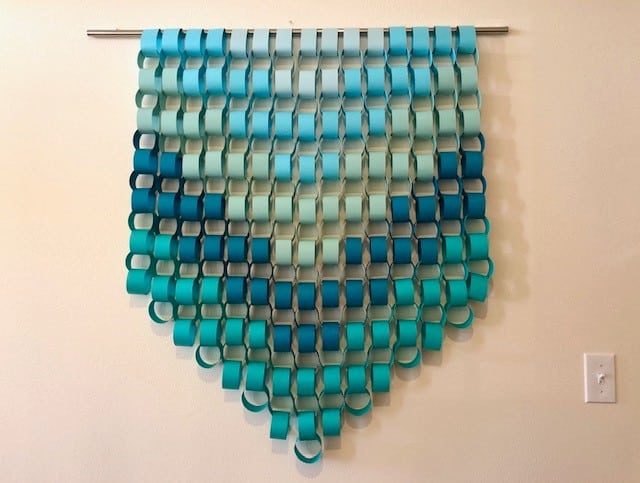
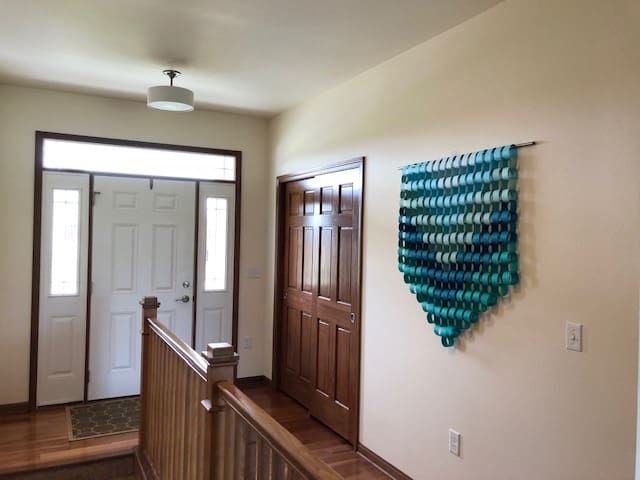
When we were finished, I liked it so much, I ended up hanging it in the foyer instead of in the kids bedroom. It is just the pop of color that was needed!
Then, my granddaughter, Bella, asked me if we could make one for her bedroom. She wanted to hang it over her bed in their new house. We just changed the colors to her color scheme and adjusted the size to fit over her bed. It made the perfect headboard!
This project costs very little, but makes a big statement! You will need minimal supplies. Add your creativity and you can decorate any wall into a work of art! Solids, prints, patterns! Pick whatever fits your decor and personality!
Materials
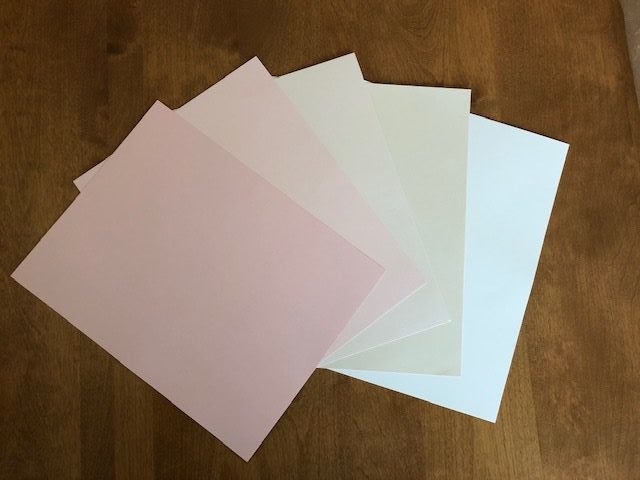
- Card Stock – 8 1/2″ X 11″
- Heavy Duty Glue Sticks
- Pencil
- Ruler
- Café style curtain rod, dowel rod, or pole for hanging
- Command Strips, hooks, or ribbon, twine, or cord for hanging
- Templates – available below
I have included the sample design template, below, that was used for the Paper Chain Wall Art in shades of blue. You can use it as a pattern if you want the same design and size. The finished piece is approximately 34″ wide X 42″ high. This template will also give you an idea of how many chains and links are needed for this size. One square equal one link in the chain.
Or you can use the blank template, below, and choose your favorite colors or create your own design. You can adjust the size by adjusting the number of chains or links.
To download the sample design template, CLICK HERE.
To download a blank design template, CLICK HERE.
Directions
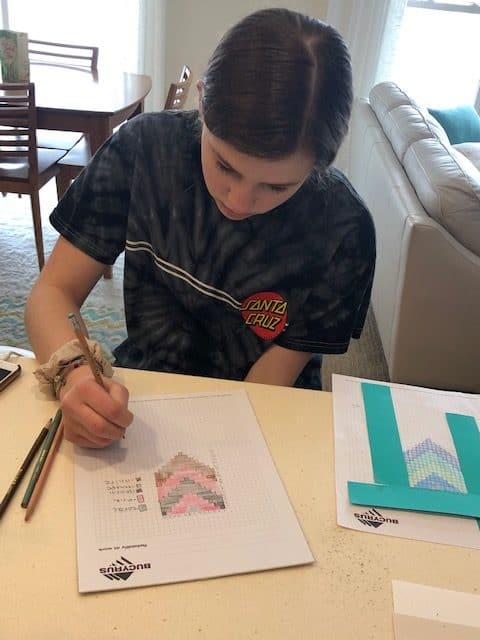
Design your template. Pick out one pencil, marker, or crayon to represent each color of paper you are using. If you want a specific design, I suggest using the template. It is also a good idea to write or make a color key of the pencil color that goes with each color of paper you are using. If you are making more of a freestyle or abstract type of design, you may not need the template.
Since Bella wanted a wall hanging smaller than the blue one, when she designed her template, she adjusted the pattern to make it narrower and shorter to fit over her bed. She had to adjust the colors to fit the smaller size.
Cut the paper into 8 1/2″ X 1 1/2″ strips. You should be able to get 7 strips from each sheet of paper. Using the template, count the number of squares for each color to know how many strips to cut.
Using a ruler and a pencil, draw a line 1/2″ from the edge of one 11″ side of paper. (You can see the drawn line in the picture with cut paper strips below.)
Apply the glue stick to the 1/2″ space that you marked with the pencil. Make sure to get to the edges. Then fold over the other side of the paper strip up to the pencil mark.
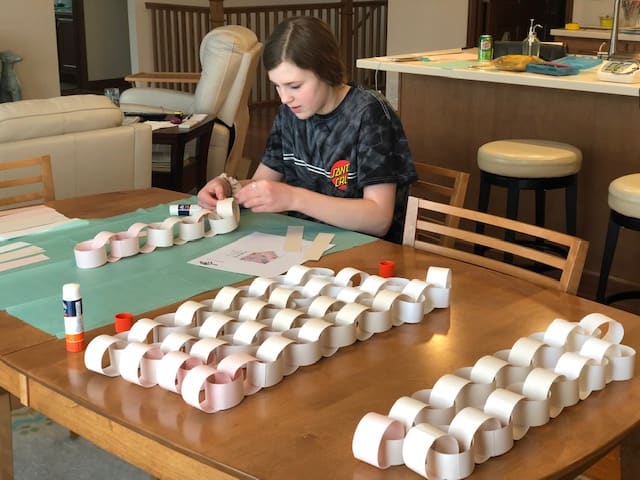
Make each chain, starting with row 1. Using the template, add each color until each chain is finished.
Tip – I cut Post-it notes into strips and wrote the numbers of the chain on each little strip. I attached the note to the top link of each chain as we made them. It helped to remember which was top, and also, when we missed a color on a chain, it made it easier to fix.
Lay out each chain next to each other, in order, as you finish them. When you have completed all of the chains, take your rod or pole, and gently put it through the top link of each chain.
Hang the chain in any way that works best for you and your space. I did not want a cord or twine above the hanging, so I used Command Strips. I used one Command Strip on each edge of the cafe rod, with the other part of the Command Strip on the wall. I just snapped it in place.
Bella used two clear plastic hooks and just put the dowel rod on the hooks. You can also use ribbon, twine or cord and tie it to each end and hang from a hook or nail. If you use ribbon, twine, or cord, I suggest you adhere it to the pole with glue or some type of adhesive so it does not move slide into the chains.
Each project cost about $5! I bought a pack of the paper when it was on sale for 5 for $10. I bought a two pack of heavy-duty glue sticks with a coupon. I had a curtain rod that ended up being too light weight for our large windows, so I just took half of it and used it for the wall hanging! I couldn’t be more delighted! Until I decide if I want something else in that space, it is perfect!
We hope you have fun making your Paper Chain Wall Art. We would love to see your designs. As always, please add your comments, ideas and suggestions! Enjoy!
Heartfully,
Sue
P.S Since I did not hang the wall hanging in the kids room, I had to come up with something different. I can’t wait to show you what Sophia and I made! It was even better than the wall hanging! Subscribe below so you do not miss anything!









I came across your site wanting to learn more and you did not disappoint. Keep up the terrific work, and just so you know, I have bookmarked your page to stay in the loop of your future posts. Here is mine at 57N about Thai-Massage. Have a wonderful day!
This paper chain looks so pretty Great work an its great you teaching your kids too Love it so much
Thank you Carolyn. Glad you like it. It was such fun, inexpensive project. I love doing projects with the grandchildren!